Tips on how to use Nozzles

"Welcome to our blog dedicated to 'Tips on How to Use Nozzles.' Whether you are a new decorator or an experienced baker looking to up your piping game, this is your go-to resource. We will provide you with clear, easy-to-follow guidance and creative ideas.Let's explore the world of decorating. Our tips will help you create masterpieces."
Preparing the Piping Bag:
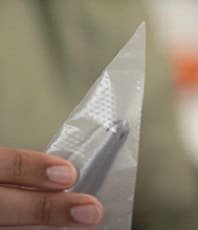
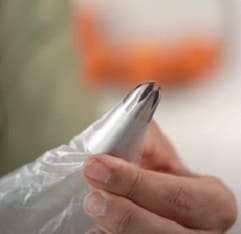
- Insert the Piping Tip into the Bag: The first step is selecting the appropriate piping tip for your desired decoration. Piping tips come in various shapes and sizes, each serving a specific purpose. Once you've chosen the right tip, insert it into the open end of the piping bag. Make sure it's securely seated to ensure that the frosting flows smoothly through the tip without leaking from the sides.
- Snip the End of the Bag According to the Tip Size: To match the size of the tip, snip the end of the piping bag with scissors. It's essential that the opening aligns with the tip's size to create the desired pattern. If the hole is too small, the frosting won't flow properly, and if it's too large, the design may become sloppy.
- The Bag is Ready to be Filled with Frosting: With the piping tip in place and the bag open, you're now ready to fill it with frosting.
Filling the Piping Bag:
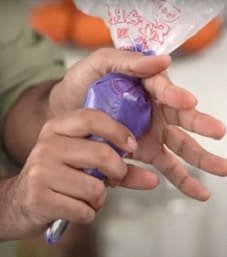
- Hold the Bag in a 'C' Shape Using Your Palm: To create a smooth channel for the frosting to pass through, hold the piping bag in your dominant hand in a 'C' shape. This shape allows for better control and consistent pressure when piping.
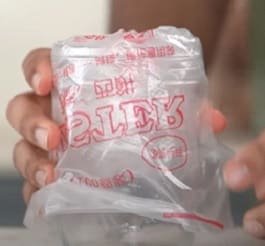
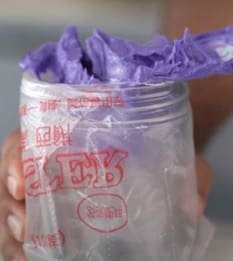
- Fold the Edges Around Your Hand or Use a Drinking Glass: To make filling the bag more manageable, you can either fold the edges of the bag around your hand or use a drinking glass to hold the bag open. This keeps the bag steady and prevents it from collapsing as you add the frosting.
- Fill the Bag Using a Spatula, Pushing Down to Remove Air Bubbles: Use a spatula to scoop the frosting and fill the bag. As you add the frosting, push it down gently but firmly to remove any air bubbles. Air bubbles can disrupt the flow of frosting and create inconsistencies in your decorations.
- Twist and Lock the Top End with Fingers: Once the bag is filled, twist the top end of the bag to seal it. Twisting the bag serves two purposes, it prevents frosting from escaping the top and allows you to exert pressure on the frosting to control the flow.
- Fill Only 2/3 of the Bag to Avoid Tearing: Be cautious not to overfill the bag. Filling it to about two-thirds full prevents the bag from becoming too heavy, which can lead to tearing during use.
Holding the Piping Bag:
- Dominant Hand on Top for Pressure: When holding the piping bag, place your dominant hand on top. Your dominant hand controls the pressure applied to the frosting, determining how fast the frosting is piped. The more pressure you apply, the faster the frosting flows.
- Non-Dominant Hand Near the Nozzle for Support and Guidance: Your non-dominant hand should be positioned near the tip of the bag to provide support and guide the piping process. This hand helps you maintain control over the direction and consistency of your decoration.
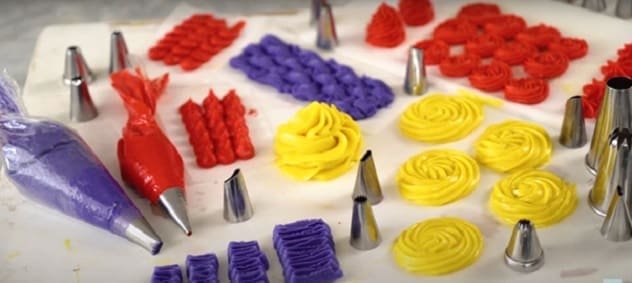
Types of Piping Tips:
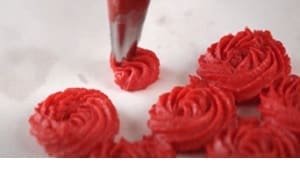
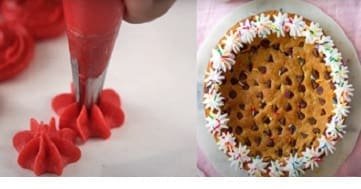
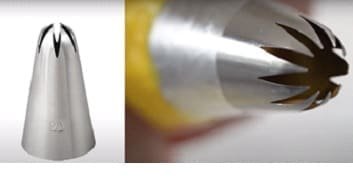
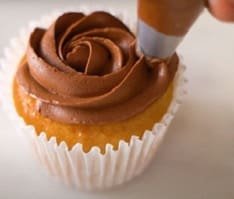
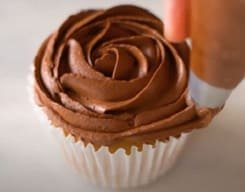
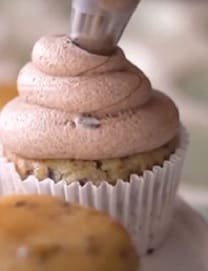
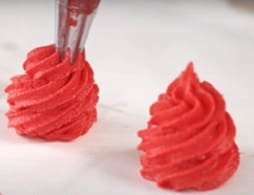
- Usage: The open star tip is an excellent choice for creating elegant swirls and star-shaped dollops of frosting. It adds a decorative touch to cupcakes, cakes, and other desserts.
- Technique: To use the open star tip effectively, hold the piping bag vertically and start piping from the inside of the dessert, moving outward. As you pipe, apply even pressure on the bag and release smoothly to form your desired design. The decoration will have a delicate and textured appearance as a result.
- Usage: The closed star tip is ideal for creating decorative swirls, often used on cupcakes, dolloping whipped cream, and enhancing the presentation of various desserts.
- Technique: To achieve an attractive texture, begin piping from the edge of the dessert and apply even pressure while moving slightly inwards as you pipe. By using this technique, a textured and visually appealing finish can be achieved. The closed star tip can give your desserts a professional and eye-catching look.
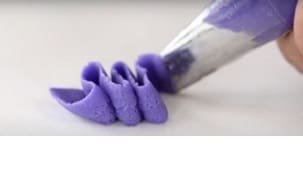
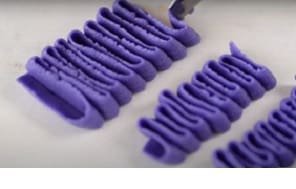
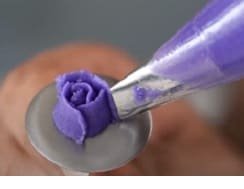
- Usage: The ruffle tip is a versatile choice. It can be used to create delicate ruffle designs on cakes and other desserts, and it's also suitable for crafting intricate buttercream flowers.
- Technique: When using the ruffle tip, position the wider end of the tip towards the dessert's surface. Hold the piping bag at an angle and gently move it from right to left. This motion will produce beautiful ruffles with a soft, elegant appearance. By adjusting the angle and pressure, you can create a variety of decorative effects to your desserts.
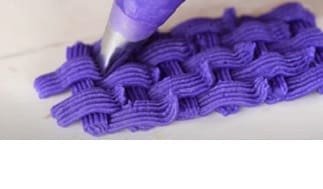
- Usage: The basketweave tip is designed for creating unique and visually striking basketweave patterns. It's a great choice for adding intricate designs to the sides of cakes.
- Technique: To use the basketweave tip effectively, position the ridged side towards you and the plain end towards the dessert. By varying the pressure on the bag and using a specific technique, you can create basketweave patterns that resemble woven baskets. The result is visually appealing and adds a special touch to your cake decorations.
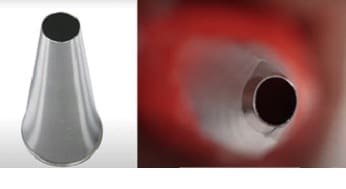
- Basic Round Tip:
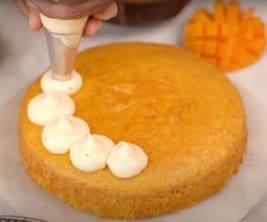
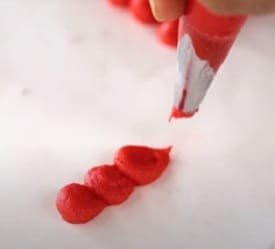
- Usage: The basic round tip is a versatile tool for making dollops, swirls, or achieving a bead-like effect. It's often used for creating simple but attractive designs.
- Technique: To make dollops and swirls, hold the piping bag at an angle to the dessert's surface. Apply even pressure on the bag as you pipe, and release smoothly to form the desired shape. When aiming for a bead effect, maintain the angle of the tip to achieve uniform beads of frosting. Using a basic round tip can enhance the elegance of your desserts without the need for intricate designs.
These piping tips and techniques offer a wide range of possibilities for decorating your baked goods. By mastering the use of different tips and practicing various techniques, it's possible to get professional-quality results and create visually stunning desserts that will leave a lasting impression.
